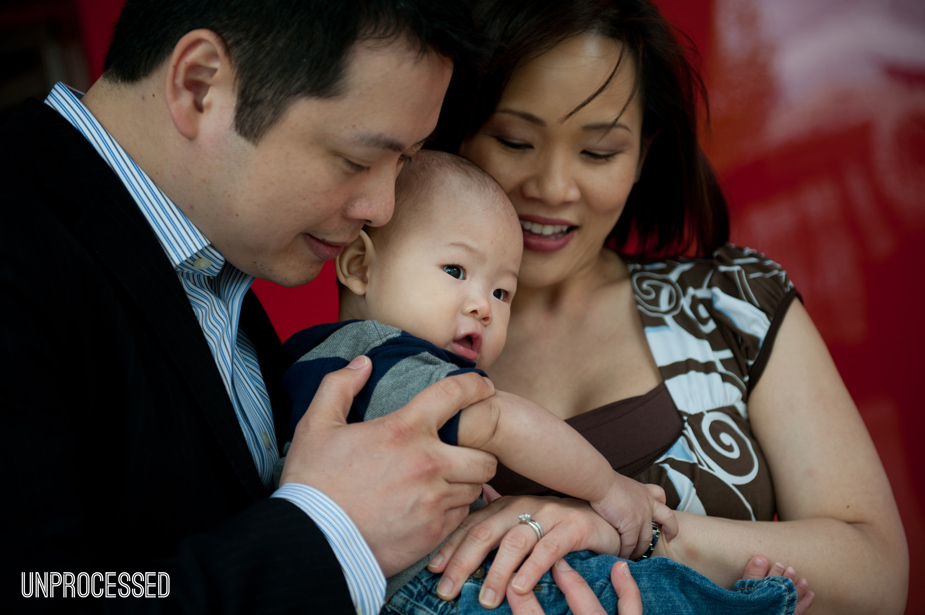
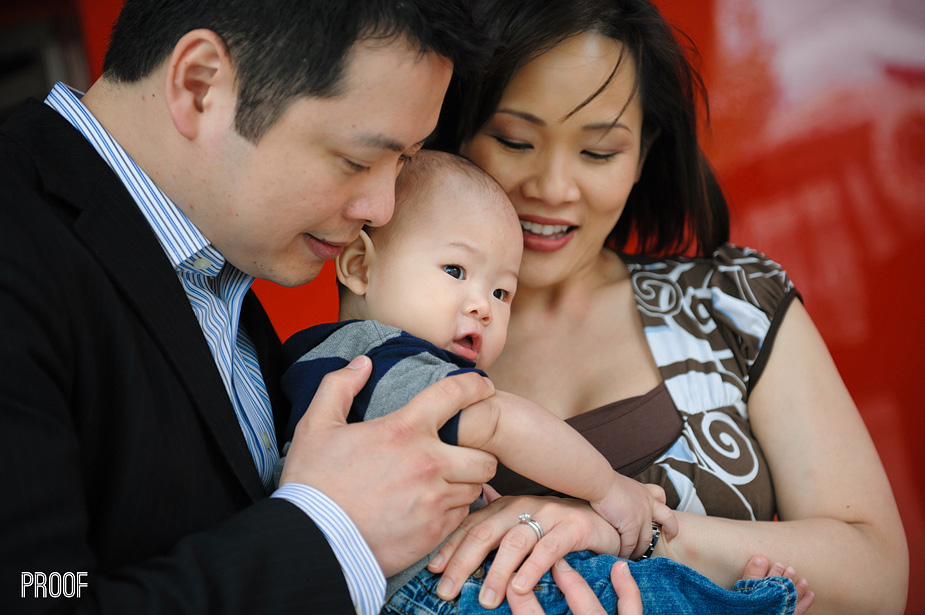
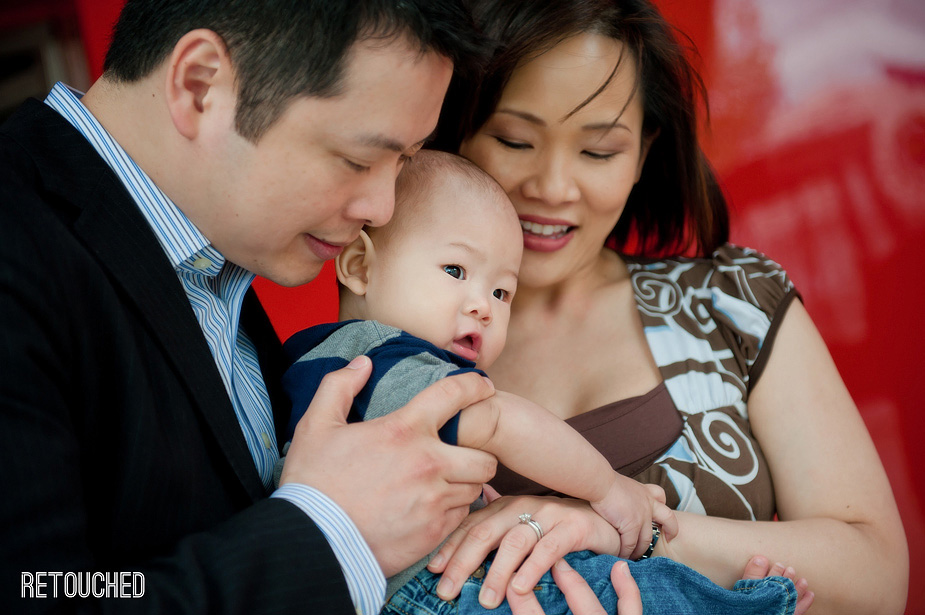
When I first went to photo school, I learned the old fashioned way, in the dark room. These days, my computer and software like Photoshop and Lightroom are my digital darkroom. While there’s nothing like watching a print appear in the developing tray, I appreciate not having to spend my days in a little room without windows. I quite enjoy my corner office with a view! :)
Each image you see presented from your session starts as an unprocessed image, or how it looks straight out of the camera. It then gets color corrected and lightly enhanced to become the image you’ll see at your viewing and ordering session. At this stage, it’s called a proof. Then, once you order the image as a print, canvas or signature framed print, or in an album, it gets further polished to become a retouched image.
What exactly this looks like depends on the image itself. Each one gets something a little different. Our standard retouching could mean removing distracting elements or blemishes, lightening dark circles under the eyes, or smoothing the skin (‘though none of these are ever taken to the extreme- we’re going for a natural, yet polished look so that you still look like yourself).
What we end up with a beautiful piece of art that’s ready to be enjoyed in your home and make you smile everyday, remembering how great a time you had! Take a peek at the examples below for a little taste of what this process looks like:


Further beauty retouching is an available upgrade for the removal of braces, digital slimming, brightening eyes and teeth, freckle removal, head swaps, crow’s feet and wrinkle reduction, etc.
